Advertisement
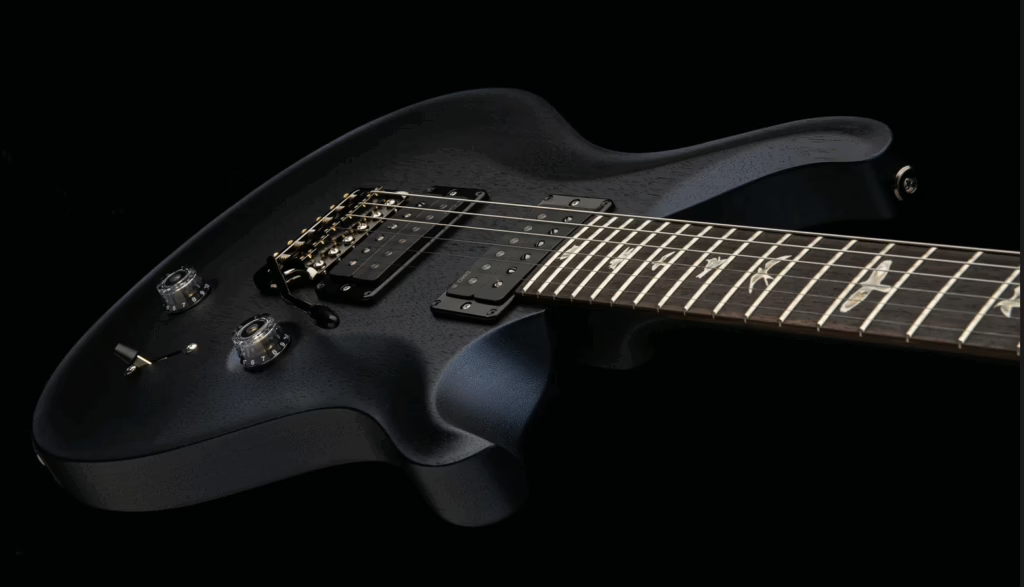
Photo provided by: Kevin Sergent
____________________________________________________________________________________
Greetings! The power of utilizing the CAGED system for rhythm or lead guitar comes into play when we link up the 5 shapes across the fretboard by turning them into barre chords. Previously in Part V, we used the CAGED system to play a C chord using all 5 shapes across the fretboard starting with the C shape in open position. In this lesson, Part VI, we will use the CAGED system to play an A chord using all 5 shapes across the fretboard starting with the A shape in open position. Then, we will utilize the G shape in 2nd position as a barre chord. We will follow this with the E shape in 5th position as a barre chord paired with the D shape as a barre chord in 7th position. Finally, we will utilize the C shape, move it up the fretboard as a barre chord into 9th position and play it as an A chord. This will show us how the root notes link up, connecting the CAGED chord shapes across the fretboard to play an A chord using all 5 shapes!
BEGINNER COURSE: CAGED SYSTEM RELATED ARTICLES
All of our fingers, with the exception of the one(s) being used to barre, will be curled at the first and second knuckles, creating a bridge under each finger so that the ONLY part of each finger that touches ANYTHING is our fingertip. If our fingers are curled properly, the notes produced by each string (including open ones) will ring out clearly and unhindered. If a finger is making a partial barre, such as the “one finger A”, then the finger making the partial barre would be curled at the 2nd knuckle only while the 1st knuckle would be slightly hyper-extended.
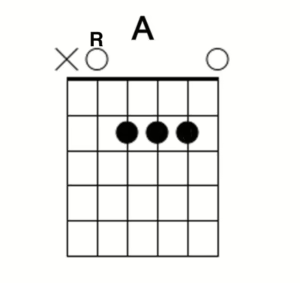
Starting with the A shape in open position as an A chord, we will ensure that our 1st, 2nd, and 3rd fingers are curled at both knuckles and place our 1st finger on the 4th string, 2nd fret. Next we place our 2nd finger on the 3rd string, 2nd fret. Finally, we place our 3rd finger on the 2nd string, 2nd fret. Notice that the 1st and 5th strings are open and our pinky is not being used. Strum from the 5th string down. (See diagram) For instructions on all (3) ways to play the A shape in its open position as an A chord, please see the article: The Power of Basic Chord Shapes - Using the CAGED system: Part I paragraph 4.
Next, the G shape played in 2nd position as an A barre chord. To start, barre the first 4 strings on the 2nd fret with your index finger. Next, place ‘3 finger G #2’ two frets in front of that. The fingering would be 2nd finger on the 5th string, 4th fret. 3rd finger on the 6th string 5th fret. 4th finger on the 1st string 5th fret. Strum from the 6th string down. (See diagram)

Moving on, we have the E shape played in 5th position as an A barre chord. To start, barre all 6 strings with your index finger on the 5th fret. Next, place the E shape directly in front of that. The fingering would be 2nd finger on the 3rd string, 6th fret. 3rd finger on the 5th string, 7th fret. 4th finger on the 4th string, 7th fret. Strum from the 6th string down. (See diagram)
Next, the D shape played in 7th position as an A barre chord. To start, barre the first 4 strings on the 7th fret with your index finger. Notice the 5th & 6th strings are not being used at this time. Place the D shape 2 frets in front of that. The fingering would be 2nd finger on the 3rd string, 9th fret. 3rd finger on the 1st string, 9th fret. 4th finger on the 2nd string, 10th fret. Strum from the 4th string down. (See diagram)

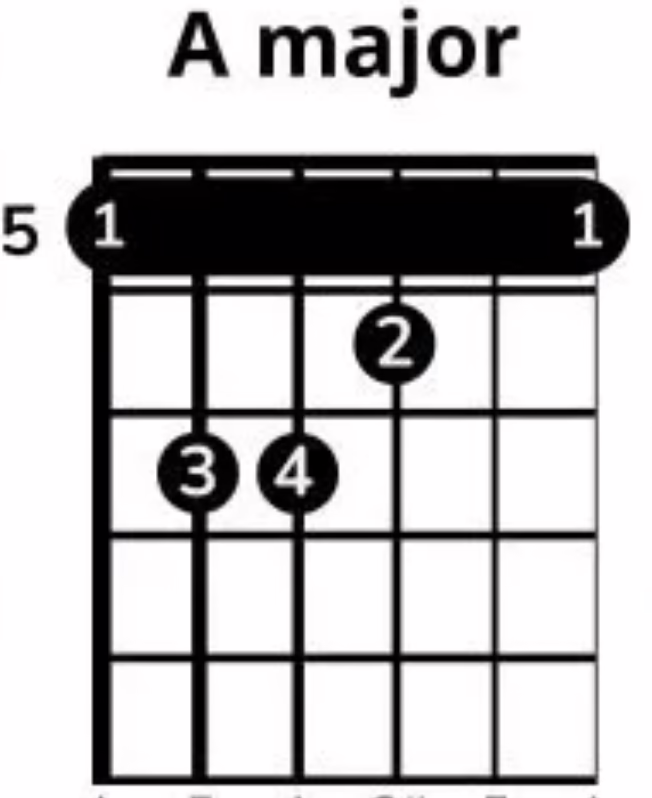
Finally, we will utilize the C shape and move it into 9th position as an A barre chord. To start, barre the first 5 strings on the 9th fret. Next, place the C shape directly in front of that. The fingering would be 2nd finger on the 2nd string, 10th fret. 3rd finger on the 4th string, 11th fret. Finally, place the 4th finger on the 5th string, 12th fret. Strum from the 5th string down keeping in mind that the 6th string will not be used at this time. (See diagram)

So far in this article series, we have discussed how to play the 5 fundamental chord shapes CAGED as well as Em, Am, Dm in their open position. We have also covered where the root note for each shape is located and we have played a C chord using all 5 shapes across the fretboard as well an A chord using all 5 shapes across the fretboard. In a future article we will continue the CAGED sequence with a discussion on how to play a G chord utilizing all 5 shapes across the fretboard starting with the G shape in open position. Happy playing!
A RECAP OF WHAT YOU MIGHT HAVE MISSED
 Download Digital Copy